Tuesday, February 12, 2013
Welcome!
Hi. My name is Jenny. I have designed this website as part of my Personal Project for the IB program. It details how to make an iPad folio case and an iPhone case with interchangeable backs. These cases are designed for the iPhone 4 and iPad 3, but they can be used with other models with a few simple dimension changes.
DIY iPad Folio Case
This is a basic guide on how to make a folio case for an iPad. The dimensions are very flexible and can be changed as you please. The pattern and colors are all optional and yours doesn't need to look like mine to follow the instructions.
.JPG)


You will need:
1 yard of an outer fabric: I used a vinyl so it would be stronger and more protective
1/2 a yard of interior fabric: I used a soft flannel
A sewing machine
pins
tape
cardboard
iron
elastic (1/4 and 3/4 of an inch)
craft glue
hot glue
- Make a basic plan for your case. Be sure to add room for seams. Mine dimensions aren't exact and can be manipulated.
.JPG)
- Draw the shape to size on your fabric and cut them out.

- Once you cut out your shapes, place and pin the right sides of the fabric together and sew the seam at 1/2 inch. I started on the inner seams and worked my way out.

- After sewing all of the pieces together, iron the seams flat. I recommend putting a piece of fabric over you case to protect it from the heat.


- Now that the seams are flat, Fold the sides over 1/2 an inch. This provides clean edges and keeps the cut edge from being exposed.

- Trace the case onto a piece of cardboard. Make two pieces, with no cardboard covering the binding. Cut out the cardboard. Place the two pieces on the case and tape them together over the binding. This will add stability and hold the cardboard together.

- Wrap the cardboard, as tight as possible, around the cardboard and tape it to the back. I also applied some craft glue to the fabric on the back of the cardboard and on the front binding (use a glue stick for this). Take the 1/4 inch elastic and glue it to the wrong side of the cardboard. Wrap it to form the corners (see picture). By the binding, make a strip of elastic to hold the iPad in place. Using the 3/4 inch elastic, make a ban to hold the iPad case shut. Glue the band into place about 1/2 from the right side (it will be right under the corner elastic (see final picture))

- Using craft glue, glue the cardboard to the sewn front. On the corners, add a drip of hot glue for added stability. You're done!
 |
| Back |
 |
| Front (with safety strap) |
|
| Inside |
Tuesday, January 1, 2013
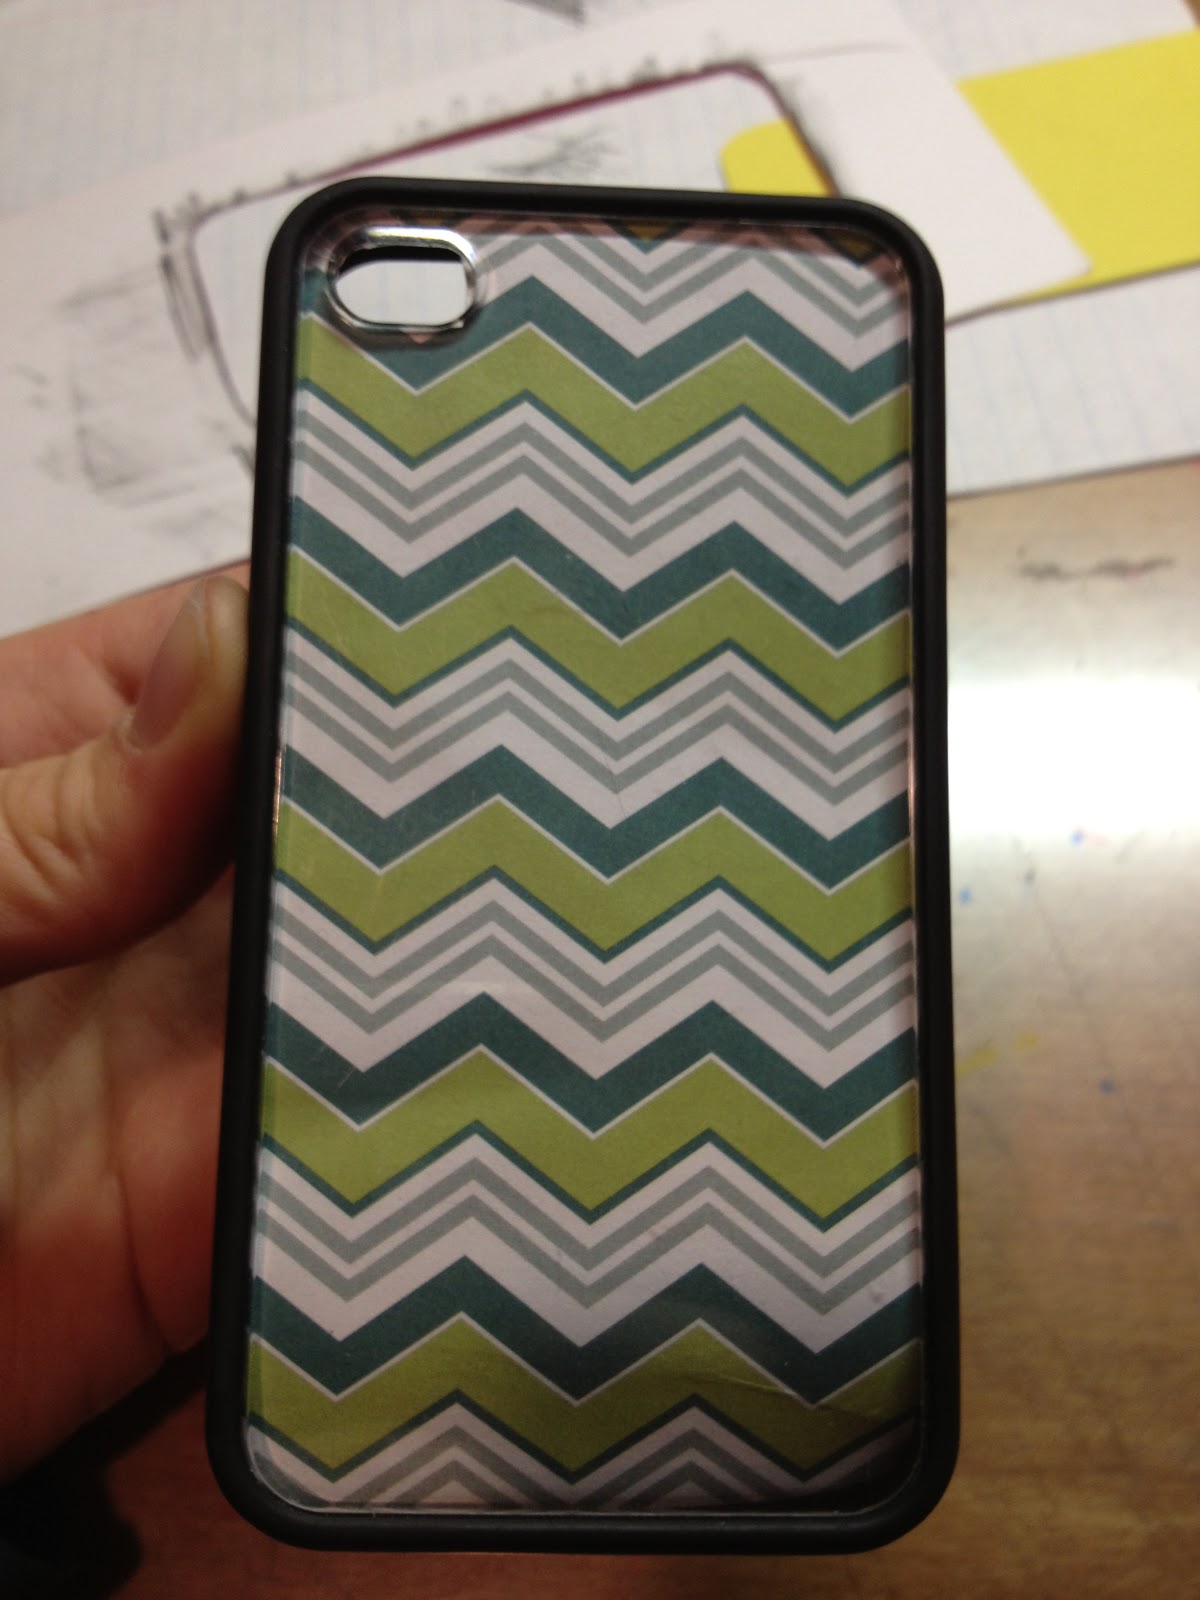
DIY iPhone Template Case
DIY iPhone Template Case
- You will need
- pencil
- card stock
- scissors
- knife
- iPhone case with a clear back
- duct tape, clear (optional)
- Trace your iPhone's basic shape. (I recommend holding the pencil at an angle so you can get as close to the phone as possible for an accurate sized tracing). Cut out the tracing.

- Place the tracing into the iPhone case. Run your pencil over the camera hole to form the shape of the camera to cut out with your knife.

- After cutting out your camera, you have finished your template. I chose to cover mine with duct tape for added stability.


To make a template to display, choose your favorite picture, card stock, or patterned paper. Lay your template face down (inside up) and then lay your picture, card stock, or paper upside down on the template. Using your pencil, rub the shape of the template onto the paper (this doesn't have to look nice).

- Cut out the shape and camera hole. Erase the remaining pencil lines to help keep your phone clean. When you flip your paper over, you will see the picture.

- Place your design into the case!
Subscribe to:
Posts (Atom)